 MoreFrame
Screenshots
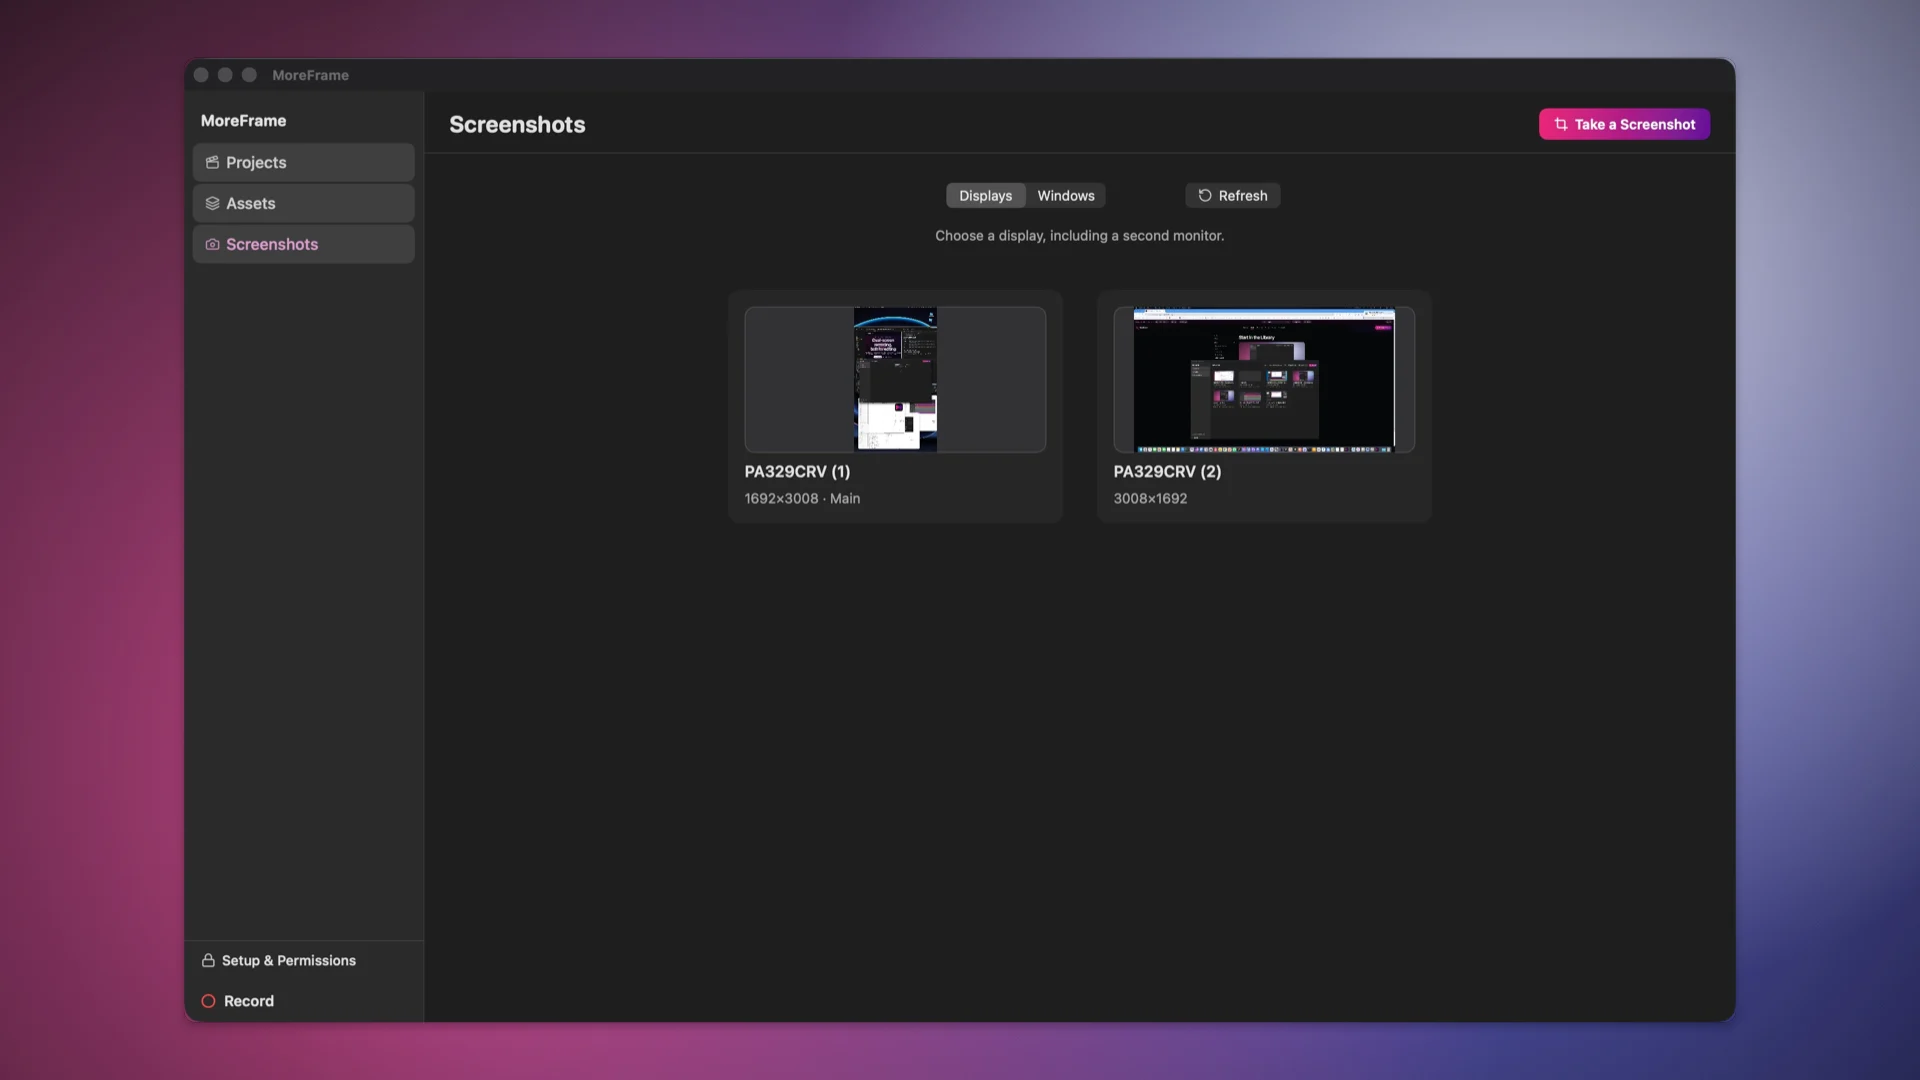
Screenshots is a separate tool outside the video editor. Use it for QA notes, bug reports, visual feedback, support replies, and quick documentation without creating a video project.
Choose what to capture
Open Screenshots from the Library. Screen Recording permission is required because macOS uses the same capture service for still images and video.
- Choose Displays, then click a display preview to capture the whole screen. Each card shows its resolution and marks the main display.
- Choose Windows, then click a live preview to capture that app window without the rest of the desktop. Use Refresh if a newly opened window is missing.
- Click Take a Screenshot to draw a region on any display. Drag the crop area, confirm it, and MoreFrame opens the result in the annotation workspace.
MoreFrame normally excludes its own window from region capture. You can change whether the app appears in captures from the recording settings.
Mark up the result
The captured image opens in the same Library page. Choose a tool, then drag on the image:
- Arrows for the exact control or direction
- Rectangles and circles around an area
- Freehand marks and highlights
- Text for a short explanation
- Crop to remove everything the reader does not need. Drag a crop, then click Apply crop under the selection.
Choose a mark color from the toolbar. Text also has a size control. Click an existing mark to select it, press Delete or use Delete, undo the latest mark with Undo, or use Clear to remove every annotation. Text can be selected and moved after you place it.
Copy or save
Click Copy when the finished screenshot is going straight into a message, issue, or document. To save a file, choose a format beside Save…:
- PNG is lossless and works well for interface screenshots, text, and transparency.
- JPEG creates a smaller, widely compatible file for screenshots with photos. It does not preserve transparency.
- WebP offers small files with good detail and transparency support.
- AVIF usually produces the smallest file, but older apps may not open it.
For JPEG, WebP, and AVIF, adjust Quality before saving. Higher quality preserves more detail and creates a larger file. PNG is lossless, so it does not show a quality control. MoreFrame remembers the selected format and quality for the next screenshot.
Saving happens directly in the standalone Screenshots workspace. It does not create or open a video project. New capture discards the current workspace and returns to the display/window picker.
Screenshot annotations stay in this workspace; they do not become video-editor layers automatically. To use a saved screenshot in a video, import the image into the project.